Initial Setup
TIP
If you can't code and want to create a mod that does one common, simple thing (such as adding a suit or sound replacement) make sure to check the Asset Modding APIs section!
Many common use cases already have APIs that allow you to easily add content without using any code.
This section of the wiki will cover how to get set up for development.
Once you're set up, make sure to check the Modding APIs section to see if there's any libraries that would make creating your mod easier.
Setting up your development environment
Before you can start modding, you'll need some tools to actually create mods. Luckily, all of these are available for free.
TIP
This guide is roughly based on some parts of the BepInEx setup guide, which is another great resource for learning how to mod
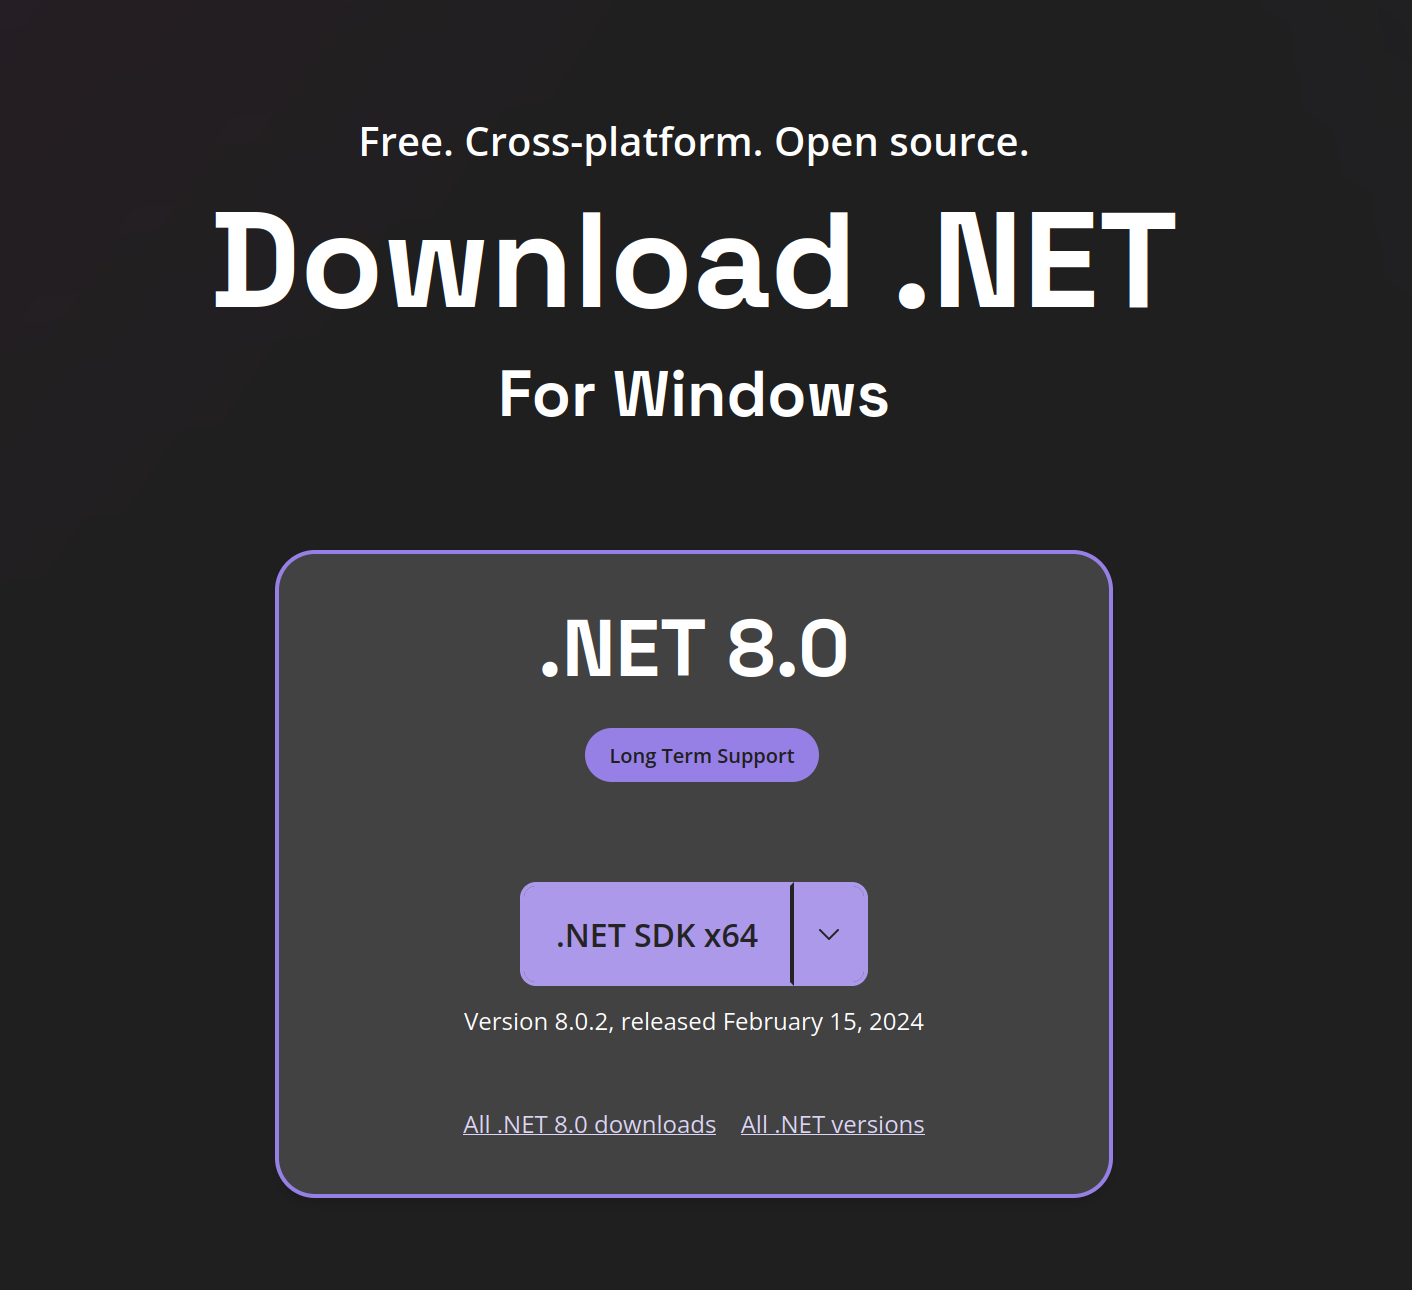
.Net SDK
An SDK (=Software Development Kit) is a system that allows you to turn your code into something that your PC can run. It is used by other tools, and you'll generally not interact with it directly.
You'll want to download and install the latest .NET SDK version from this page. It'll look something like this:
IDE
By far the most important tool in a programmer's toolbox is an IDE (=Integrated Development Environment). For now, the definition of an "overengineered text editor" will suffice. Through an IDE, you can edit code far more efficiently, since it offers features such as:
- Syntax highlighting
- Compiling
- Code completion
- Integrated tools (version control, linting, etc...)
- Debugging
You might wonder why some of these are important (or what some of these even are), but that falls outside of the scope of this wiki. Rest assured however that they're essential and will save you a lot of headaches. Do not try and create mods in a simple text editor such as notepad. Technically, you can do this, but there's no reason for it beyond masochism.
For IDE's, we recommend one of the following free options:
- Visual Studio -- An all-in-one package. Has a built-in decompiler, which can save some time.
- Rider -- Recommended (The author of this article uses it himself) -- An all-in-one package. Comparable to Visual Studio. Has a built-in decompiler, which can save some time.
INFO
If you already have Visual Studio installed, you'll want ensure you're on Visual Studio 2022. This is the version that supports .Net 7, and has the correct MSBuild Version to build your project solution.
- Visual Studio Code -- A more lightweight package.
BepInEx
To actually load mods into the game, we need a mod loader. This is where BepInEx comes in! Bepis Injector Extensible is a patcher/plug-in framework for Unity games. It'll handle everything related to getting the plugin to actually load into the game, so we can focus on creating the plugin without having to worry about anything else.
You'll first want to install BepInEx to your game. Follow their great installation guide to get this done. You'll want this version of BepInEx.
Once installation is complete, boot up the game once to have it generate some configuration files. Then, refresh the folder you just installed BepInEx into, and go into the BepInEx/config folder. Here, you'll find a file named BepInEx.cfg. Open it, and find the [Logging.Console] section and make the following changes:
[Logging.Console]

## Enables showing a console for log output.
# Setting type: Boolean
# Default value: false
Enabled = false // [!code --]
Enabled = true // [!code ++]
Decompiler (highly recommended / near essential)
A decompiler allows you to decompile an existing program. This is technical terminology that can roughly be translated to "it allows you to peek behind the curtain and see what the code of a program looks like". Why is this important, you may ask? Well, if we're going to mod a game, we first need to know what to mod. Do we want to reduce the price of items? We'll need to know in what part of the code items are displayed and sold to the player. Do we want to add a weather condition? We'll need to know in what parts of the code the game handles and spawns weather.
We recommend one (or all) of three free options:
TIP
Note you do not necessarily need this if you have Rider or Visual Studio, since they come with built-in decompilers. Note that different decompilers offer slightly different results, and have different interfaces.
Unity Explorer (optional)
Unity Explorer is a tool which adds an in-game UI that allows you to explore, debug, and modify the game while it's running. This tool can be highly useful to get to know the game's technical side better, and his hence strongly recommended.
You will want to download the version compatible with the latest version of BepInEx (5).

Additional tools (optional)
There are a number of BepInEx plugins and tools that might be useful as you get more experienced with modding. The BepInEx devs have helpfully listed them here.
Creating a GitHub account
We strongly recommend using git - a "version control system". The most popular website that offers this as a (free) service is GitHub.
The following video is a short primer on what git (and a version control systems in general) is: https://www.youtube.com/watch?v=2ReR1YJrNOM
For additional reading, please see GitHub's documentation.
In short, Git(Hub) allows you to do the following things without hassle:
- Keep a complete history of your project
- Allows you to revert to a previous version if you made a mistake
- Allows you to retrieve your code if your hard drive fails, or you delete something by accident
- Allows you to revisit previous updates and patch notes, adding implicit documentation to your project (when done right)
- Collaborate with others
- Others can send requests to update files of your project
- Others can download your code and learn from it
- Others can continue updating your project, long after you've stopped caring about it
- Others can help you fix a bug, and you can easily get that bug fixed version of your project
Without going into too much detail, there is a difference between "Git", and "GitHub". Git is a program that anyone can run. GitHub is a website that makes this program available to others through the cloud - allowing for collaborating, and remote backups. You can just use Git locally, but you'll lose a lot of the benefits. An alternative to GitHub is GitLab.
To create an account, simply go to GitHub's home page and follow the steps. GitHub also has a guide on creating a new account (just ignore the step about checking pricing plans - you don't need a paid account, this is primarily for companies and professional users).
Next steps
Now that you've set up everything, you'll want to proceed to the starting a mod article!